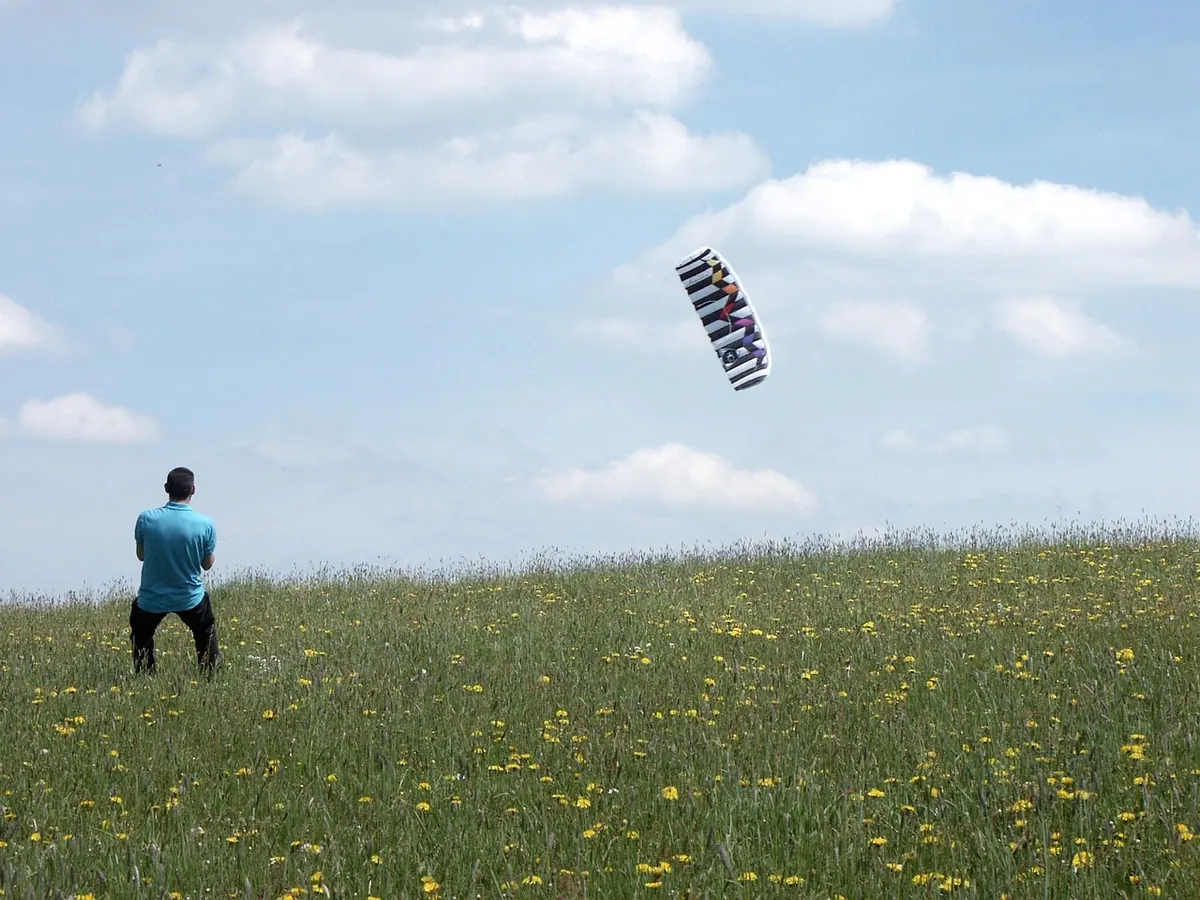
Flying Tips
The Pre-Flight Kite Checklist: 10 Things to Check Before You Launch
Most disappointing flights are decided before the kite leaves your hands. A frayed bridle loop, a line half a metre shorter than its partner, a spar that never got pushed fully home — none of these announce themselves while the kite is sitting quietly on the grass. They show up at thirty metres, usually with a gust attached. Five minutes of checking on the ground is the cheapest insurance in kite flying, whether you are unfurling a small delta on the local common or rigging a four-line foil on the beach.
Site Conditions: Read the Field Before You Unpack
Wind is the one thing you cannot fix once you are flying, so start there. Stand still for a minute and look: which way is it coming from, is it steady, and is it building? Flags, smoke, the tops of trees and ripples crossing a pond will tell you more than a forecast. Feel it on your face as well. A wind that arrives in pulses will be hard work, whatever the average speed suggests.
Then look at what stands between you and that wind. Trees, buildings, fences and goalposts all shed turbulence downwind, and disturbed air can reach several times the height of the obstacle. A field that looks wide open can be lumpy if you launch in the shadow of an oak. Give yourself room to the sides and a clear run downwind for the first minute of flight.
Check the ground and the people separately. Sharp stones, glass and thistles will find the sail; dog walkers, cyclists and children will find your lines, which lie almost invisibly on the grass. Keep well clear of overhead power lines, roads, railways and airfields, and if the site is busy, walk to another corner or come back later.
Bridles and Spars: The Frame in Detail
Bridles
Lay the kite face down and work along the bridle from the tow point outwards, running each line through your fingers. You are feeling for three things: fraying, tangles and knots that should not be there. A single overhand knot can shorten a bridle leg enough to make the kite pull to one side, and it is easy to miss until you are airborne.
Then compare the two sides. Hold the left and right tow points together and check that the bridle legs meet evenly. Frayed pigtails, stretched elastic and worn attachment loops are cheap to replace at home and expensive to discover at altitude. Finally, make sure no leg has hooked itself around a spar or crossed under the sail while the kite was in the bag.
Spars
Run each spar through your hands, flexing gently. Look for cracks, splinters, flat spots and dents, especially near a ferrule, where most carbon breaks begin. Push every ferrule fully home — a spar sitting five millimetres short loads the frame in the wrong place.
Check end caps, nocks and bungees. The small rubber and elastic parts that hold a frame together are the first to perish. Then tension the sail properly: a leading edge that is firm without being brutal usually flies best, while a floppy one lets the kite rock and stall. Seat spreaders and spines with the kite face down, away from you, so a sprung spar cannot catch your face.
Lines, Knots and Connectors
Lay all your lines out full length, side by side, with no twists. Walk from one end to the other and inspect as you go: nicks, kinks, fuzzy patches, grit trapped in the sleeving and knots that should not be there. Anything that catches a fingernail is a weak point.
Now check that they match. Stake or hold one end, walk both (or all four) lines to the far end and hold them together. They should finish level. Even twenty or thirty millimetres of difference will have the kite turning on its own and leave you fighting it with the other hand. Lines settle and stretch with use, so this is worth doing before each session rather than once a season.
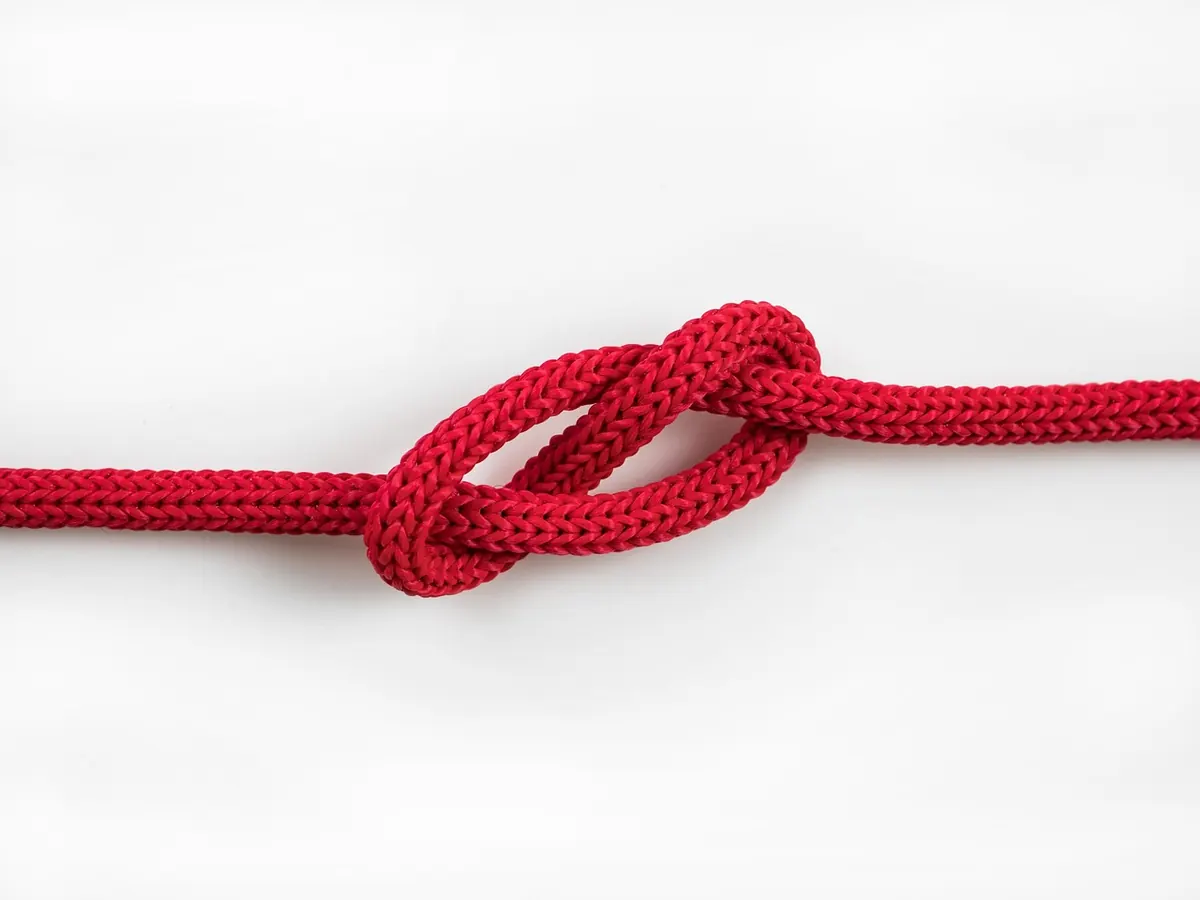
Finish at the knots. A lark's head loop at the kite and a sleeved loop or figure-of-eight at the flying end should both be seated and tight, with tails trimmed sensibly — long enough not to slip, short enough not to snag. Check the loops themselves are not worn thin where they meet the bridle, and that any sleeving still grips the line rather than sliding along it.
Safety Pins, Releases and Small Hardware
If your kite has a release system — a pin, a push-button shackle, a kite killer or a harness loop — this is the check that matters most. Look at it, then work it. With the kite on the ground, release and reset it a couple of times, using one hand, wearing gloves if that is how you fly. A pin that only seats when you fiddle with it will not help you when the kite starts pulling.
Check wrist straps and kite killer elastics for perishing, and look at every ground stake, sand bag and anchor point. A stake should go in at an angle, deep enough to hold, with the line loop unable to slide off the top. Quick links and split rings should be closed and not scoring against a line. A couple of small safety pins or rubber bands in the bag are handy for securing a leg that has worked loose.
If you fly a kite capable of lifting you, learn with a recognised school before you fly it, and treat your release gear as safety equipment rather than accessories.
The Ten-Point Pre-Flight Check
Run this in the same order every time. It takes about five minutes, and after a few sessions you will not need to read it.
- Wind: direction, strength and gusts — can you hold the kite comfortably at the edge of the window
Photo: AlfLucio / Pixabay