Kite Building
Build Your First Rokkaku Kite: A Weekend Workshop Guide
A Rokkaku is one of the kindest kites you can build at home. Six straight edges, one spine, two cross spars, and a sail that forgives small errors. It lifts steadily in light air, sits high and steady overhead, and looks like something that belongs on a hillside rather than in a cupboard. Give it a weekend — Saturday to cut and sew, Sunday to frame, bridle and fly — and you will have a kite you can keep tuning for years.
Why the Rokkaku makes a good first build
Japanese kite makers have been flying six-sided Rokkaku for centuries, and the shape has survived because it works. The sail is broad relative to the amount of frame, so the kite flies in lighter wind than a delta of similar size. There are no curved seams to negotiate and no fittings to buy: everything is straight lines, tape and knots.
The proportions are forgiving too. Get the width and height roughly right and the kite will still fly, which is not something you can say about every traditional shape. Build your first one modestly — a sail around 1.2 metres tall and 90 centimetres wide is big enough to feel impressive, small enough to store behind a door.
What you will need
- Sail fabric: coated ripstop nylon, 40 to 70 denier, roughly 1.5 m by 1 m. Lighter fabric flies in less wind; heavier fabric survives more crashes.
- Spars: carbon tube — 8 mm for the spine, 6 mm for the two cross spars. Buy a little longer than you need and cut down.
- Pocket and patch material: Dacron tape or polyester webbing, plus a metre of 25 mm nylon tape.
- Bridle line: braided polyester or Dyneema, around 20 to 30 kg breaking strain.
- Thread: polyester, and a sewing machine if you have one. If not, spinnaker tape and a steady hand will do a respectable job.
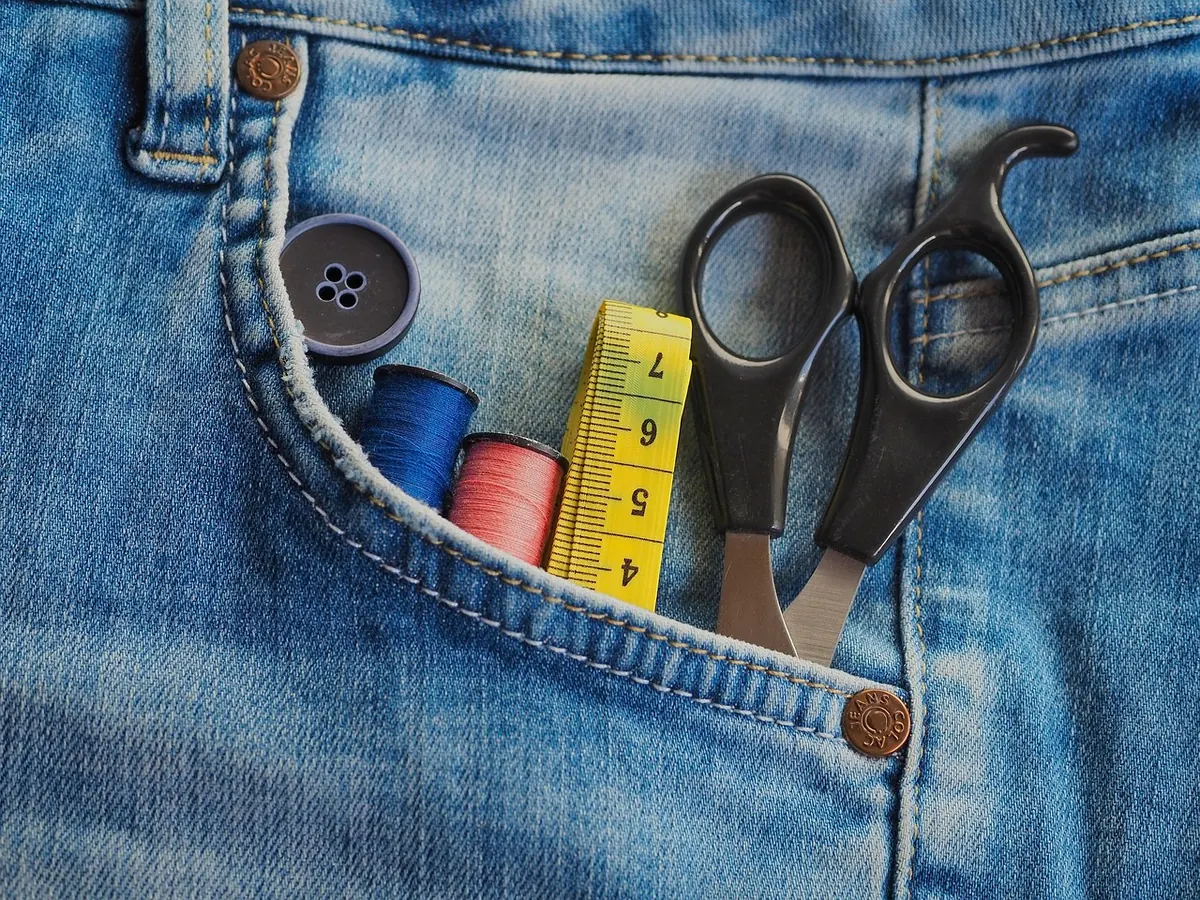
- Tools: fine marker, metal ruler, sharp scissors, a hot knife or soldering iron with a blade tip, a lighter, a small saw or pipe cutter, a fine file, and a short length of shock cord.
- Flying kit: a ring or small carabiner for the bridle, plus line and winder matched to the kite.
Cutting carbon tube produces fine dust, so wear a mask and work outdoors. Seal the ends of every spar with a drop of cyanoacrylate or a wrap of tape so the fibres cannot fray.
Marking and cutting the sail
Fold the fabric in half lengthways, right sides together, so the fold becomes the centre line of the kite. Work on the floor, weigh the corners down and mark one half of the shape. Cutting through two layers at once is the simplest way to guarantee a symmetrical sail.
Proportions that fly
For a kite 120 cm tall and 90 cm wide, measure along the fold from the top point:
- Apex — 0 cm, on the fold.
- Upper shoulder — 25 cm down, 45 cm out from the fold.
- Lower shoulder — 78 cm down, 42 cm out from the fold.
- Bottom point — 120 cm down, on the fold.
Join the marks with straight lines and cut through both layers. Open the fabric out and you should have a clean, symmetrical hexagon. Trim the edges with a hot knife, or run a lighter quickly along them, so the ripstop cannot fray — test on an offcut first, because coatings vary in how readily they melt.
Spar pockets and reinforcement
You need a pocket along the full length of the spine and a pocket across the sail at each cross spar position. Fold tape over the spar to make a tube, then sew or iron it to the sail, leaving the pocket a millimetre or two wider than the tube so the spar slides freely. Close both ends so the spar cannot push through the sail, and add a stitch or tape cap at the outer ends as a stop.
Before you sew the top pocket, add a Dacron patch at each of the four bridle attachment points: the top of the spine, both ends of the upper cross spar, and the bottom of the spine. These patches take the entire load of the kite, so it is worth stitching them generously. If you prefer not to sew, spinnaker tape works, but re-check it after the first few flights.
Framing and bowing the spine
Slide the spine into its pocket and the cross spars into theirs. Where the spars cross, bind them together with a small elastic band or a few wraps of tape — loose enough that the frame can still flex, tight enough that nothing shifts in flight.
Traditional Rokkaku are bowed: a line runs from the top of the spine to the bottom, tensioned until the spine curves towards the flyer. A shock cord section in that line keeps the tension constant as the kite flexes. Aim for a curve of roughly 5 to 8 cm at the centre of a 1.2 metre spine. Too little bow and the kite feels unstable and wanders; too much and it becomes sluggish and refuses to climb.
The bridle and the tow point
Make four bridle legs from the top of the spine, each end of the upper cross spar, and the bottom of the spine. Cut them long — around 1.5 times the kite's height — and tie them all to a ring, then adjust each leg so the ring sits 30 to 40 cm in front of the sail.
From the ring, run a short pigtail of line and attach your flying line to a loop on it. That loop is your tuning screw. Sliding it up and down by a centimetre at a time changes the kite's angle of attack more than anything else you can adjust.
Keep the first flight short. Ten minutes of tuning on the ground saves an hour of walking across a field.
First flight and tuning
Pick a day with a steady 8 to 20 km/h breeze and plenty of open space. Have a helper hold the kite up, or prop it on its bottom point, and walk back until the line is taut. A gentle tug should lift it away. Then sort out whatever it does next:
- It will not climb: move the tow point up the pigtail, or wait for a little more wind.
- It dives or overflies above you: move the tow point down, and add a touch more bow.
- It spins or circles: check that both cross spars are the same length and the sail is symmetrical. Unequal bridle legs cause the same problem.
- It flutters at the edges: increase the bow slightly, or add a light tail of crepe paper streamers for very light air.
Never fly near overhead power lines or in a storm, and keep well clear of roads, livestock and other people. Carbon spars conduct electricity, so treat any line contact with a cable as an emergency.
After the first flight, and where to go next
Wipe the sail down, check the pocket stitching and the bow line, and store the kite flat with the spars removed. Most first Rokkaku end up slightly heavier than planned; that is normal and rarely matters.
When you build the next one, scale it up, add appliqué panels to the sail, or cut the proportions livelier for stronger wind. Rokkaku fighting — where flyers try to knock each other out of the sky — is a long-standing tradition in parts of Japan, and once you have a kite that climbs reliably, a friendly duel is the natural next step.
Photo: beasternchen / Pixabay