Flying Tips
How to Launch and Land a Kite Solo Without Help
Flying solo is one of the quiet pleasures of kiting. You pick your spot, rig up at your own pace, and nobody is standing behind you waiting for a turn. The awkward part comes at the two ends of a session: getting the kite airborne and getting it back down again. Those are the moments you would normally palm off on a friend. With a ground anchor, a couple of sand bags and a decent grasp of the wind window, both become routine.
The wind window does the heavy lifting
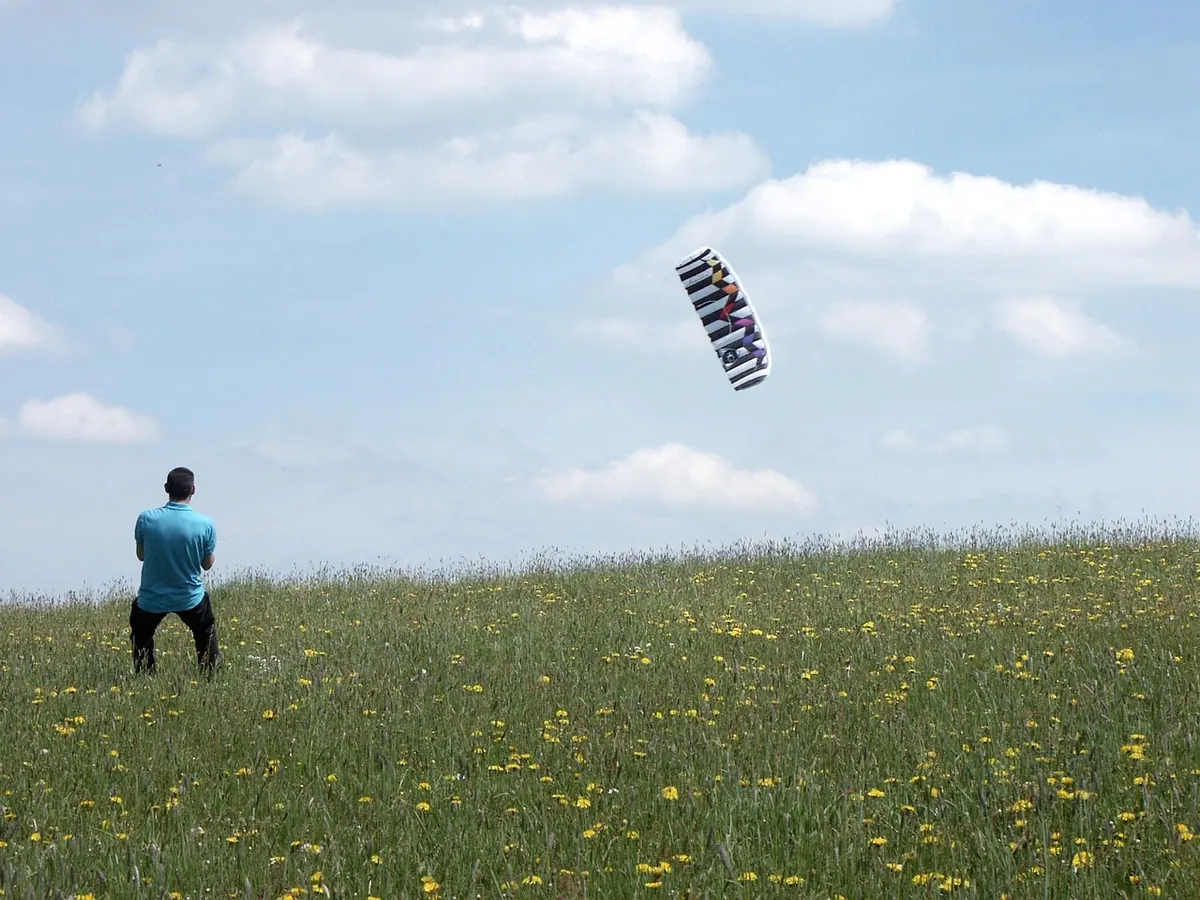
Everything about solo flying gets easier once you stop fighting the middle of the wind window. Think of the window as a quarter-sphere: directly downwind is where the kite pulls hardest, the edges are where it pulls least. At the very edge, a mid-size fixed-bridle kite or a small foil will sit almost on the ground with barely enough tension to lift a wing tip. That is your working zone.
So: any time you want to walk away from a live kite, put it at the edge of the window first. Any time you want to pick up a bar without a helper holding the kite, put it at the edge first. Parking the kite overhead while you sort out lines, gloves or a drink is the single habit that turns a calm session into a sprint across a field. Keep it low, keep it to one side.
Ground anchors: what actually works
You do not need anything purpose-built, but you do need something that will hold when the wind gusts harder than forecast. Weight and grip matter more than cleverness.
Screw-in stakes
A long corkscrew stake with a loop on top is the neatest option on soft ground. Push it in at an angle away from the kite, all the way to the top of the thread, and give it a firm tug before you trust it. A stake that leans away from the pull holds far better than a vertical one.
Sand bags and weight bags
A proper kite sand bag, or a stout stuff sack filled with sand or shingle, does the job on any surface. Around ten kilos will hold a small kite in a moderate breeze; go heavier if you fly something bigger. On grass, a loaded rucksack laid flat works in a pinch, especially if you thread the handles through it.
What not to use
- Yourself, your wrist or your harness. Never tether your body to anything you cannot release instantly.
- A dog, a child or a bystander's hand. Unfair on them, unpredictable for you.
- A fence post or gate you have not checked is solid, on land where you are welcome.
- A parked car's door handle, unless you are certain nobody is about to drive off.
Self-launching a four-line kite, step by step
This works for most leading-edge inflatables, foils and four-line fixed-bridle kites. The principle is the same: let the anchor hold the kite while you get to the bar.
- Lay out your lines fully and walk them down, checking for twists and knots. A knot in a flying line will cut it.
- Set the kite on the ground at the low edge of the window, leading edge into wind, and anchor it — chicken loop hooked onto the stake, or the upwind wing tip weighted with a sand bag.
- Walk back to the bar keeping a little tension on the lines. Too much slack and they will tangle as the kite lifts.
- Check left against right, pick up the bar, confirm your safety system is connected, and glance upwind and downwind for people, dogs, roads and power lines.
- Release the kite. A steady pull on the upper steering line lifts the leading edge; the kite pivots off the ground and climbs to the edge of the window, where it will sit happily while you settle yourself.
If it spins, drops back or the lines go slack, put it down at the edge and start again from step two. Impatience is what puts kites in trees.
Single-line and two-line kites
Lightweight kites need less kit. For a single-liner, tip a few handfuls of sand onto the trailing edge, walk back along the line and pull gently; the kite lifts the sand and climbs. For a two-line sport kite, weight one wing tip, stand with the kite at the edge of the window, and pull the top line to stand it on its tip before you launch. On wet grass or smooth sand you can often just pull the line and let the kite slide off the ground.
Landing and self-recovery
The controlled edge landing
Bring the kite down at the edge of the window rather than overhead. Fly it low, keep it moving towards the ground, and as it settles, step towards it with just enough tension to stop it flipping. Once the leading edge is down, drop a sand bag or your kite bag on it, or hook the chicken loop to your stake, then walk up the lines hand over hand. Never walk up a slack line; a gust can tighten it in a second.
When to pull the safety
If the wind picks up, if the kite starts dragging you or your anchor, or if you are being pulled towards something you would rather not hit, let everything go. The kite will flag on its safety line or leash. Walk up to it in your own time and deal with it on the ground. Kites are repairable; ankles, wrists and other people are less so. Find your release in light wind so it is automatic when it matters.
A short solo checklist
Before every session: read the forecast, choose a site with clear space downwind, and look for something solid to anchor to. Rig with the kite at the edge of the window, anchor it before you walk away, and never leave a live kite unfettered while you fetch something from the car. Carry more weight than you think you need — a spare sand bag costs little and saves a session. And if other flyers are about, say hello. Most will happily hold a kite for thirty seconds, and part of the skill of flying alone is knowing when not to.
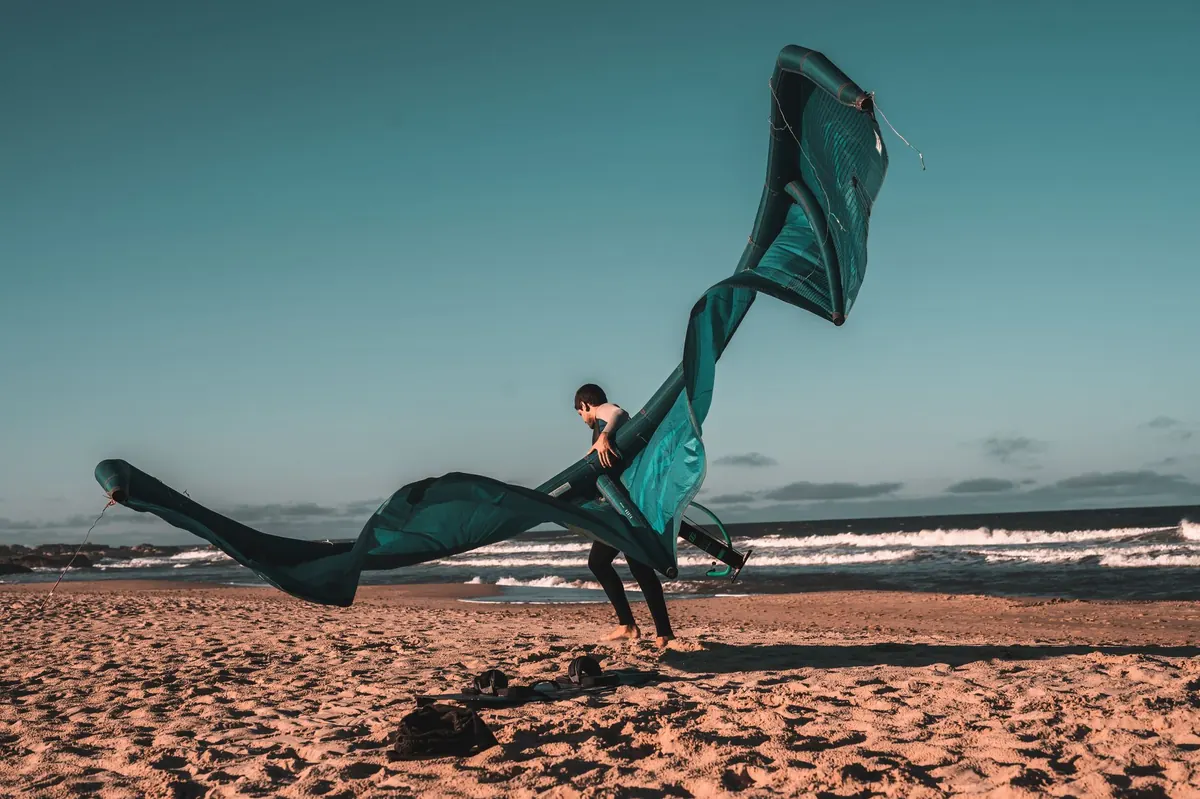
Photo: Alfo Medeiros / Pexels